Important Update (11 Aug 2024): The solution outlined in this article is now outdated. For the most current method of generating SSL certificates for Tailscale, please follow the instructions in the original article by sim642.
Introduction
In the world of networking, securing connections between devices is paramount. Tailscale, a modern VPN solution, offers a secure way to connect your devices. For Synology DSM users, automating the configuration of Tailscale certificates can enhance security while simplifying the process. This article provides a comprehensive guide and a Bash script to automate the setup of Tailscale certificates on Synology DSM.
Understanding Tailscale
Tailscale is a Zero Trust network that creates a secure network between your computers, servers, and cloud instances. It’s built on top of WireGuard, a state-of-the-art, high-performance VPN protocol. The main advantage of Tailscale is its simplicity in setup and use, combined with robust security features.
Benefits of Tailscale
- Ease of Use: Tailscale simplifies the network management process.
- Secure: It encrypts your traffic, ensuring data security.
- Scalable: Suitable for both small and large networks.
Setting Up Tailscale on Synology DSM
Synology DSM is renowned for its robust and user-friendly NAS (Network-Attached Storage) operating system. Integrating Tailscale with DSM enhances your network’s security. The process involves enabling SSH, creating a script, and executing it.
Pre-requisites
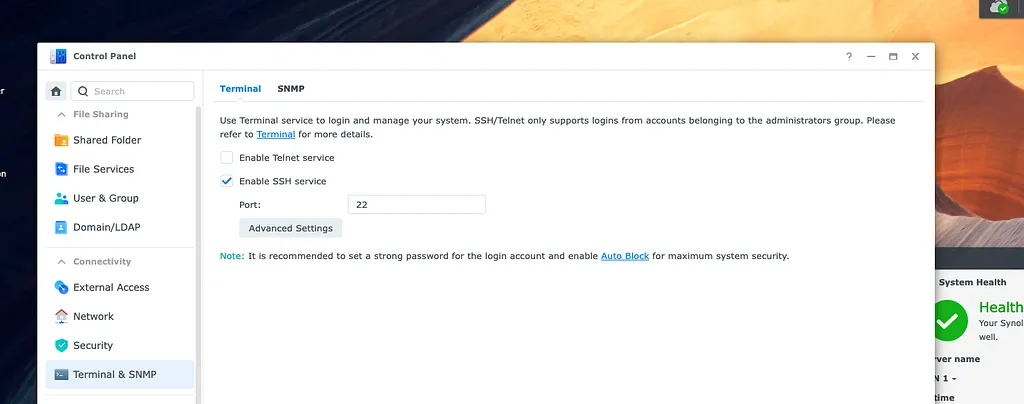
- A Synology DSM device with Tailscale installed.
Part 1: Enabling SSH on Synology DSM
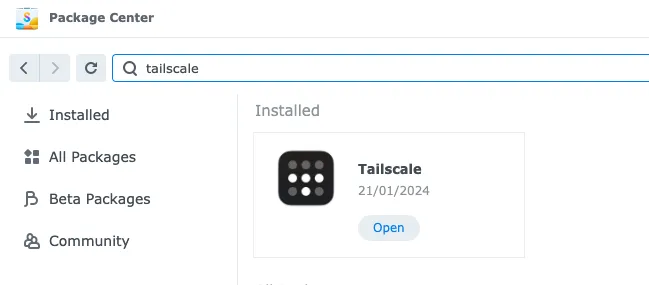
- Log into DSM: Access your DSM via a web browser and log in.
- Open Control Panel: Navigate to the Control Panel.
- Access Terminal & SNMP: Locate the “Terminal & SNMP” section.
- Enable SSH: Check the “Enable SSH service” box, opting for the default port (22) or another as needed.
- Apply Settings: Click “Apply” to enable SSH.
Part 2: Creating and Executing the Script
- SSH into DSM: Use an SSH client to connect to your DSM using ssh [username]@[DSM IP address] -p [port].
- Create Script File: Create a new file named tailscale_cert_script.sh using a text editor, such as vi

3. Script Content: Input the following script into the file:
#!/bin/bash

# Ensuring Root Privileges
if [ "$EUID" -ne 0 ]; then
  echo "This script must be run with sudo."
  exit 1
fi

# Defining Variables
USER_HOME=$(eval echo ~$SUDO_USER)
TEMPDIR="$USER_HOME/.tailscale_certs"
TS_DNS=$(tailscale status --json | jq -r '.Self.DNSName | .[:-1]')
SYNO_ID=$(cat /usr/syno/etc/certificate/_archive/DEFAULT)

# Cleanup of Old Certificates
rm -f "$TEMPDIR/$TS_DNS.crt" "$TEMPDIR/$TS_DNS.key" "$TEMPDIR/$TS_DNS.pem"

# Directory Creation for Certs
mkdir -p "$TEMPDIR"

# Generating Tailscale Certificates
tailscale cert --cert-file "$TEMPDIR/$TS_DNS.crt" --key-file "$TEMPDIR/$TS_DNS.key" "$TS_DNS"

# Key Conversion to PKCS#8 Format
openssl pkcs8 -topk8 -nocrypt -in "$TEMPDIR/$TS_DNS.key" -out "$TEMPDIR/p8file.pem"

# Copying Certificates to Synology
cp "$TEMPDIR/$TS_DNS.crt" "/usr/syno/etc/certificate/_archive/$SYNO_ID/cert.pem"
cp "$TEMPDIR/$TS_DNS.crt" "/usr/syno/etc/certificate/_archive/$SYNO_ID/fullchain.pem"
cp "$TEMPDIR/p8file.pem" "/usr/syno/etc/certificate/_archive/$SYNO_ID/privkey.pem"

# Storing Certificates in a Specific Location
mkdir -p /etc/ssl/tailscale
cp "$TEMPDIR/$TS_DNS.crt" "$TEMPDIR/$TS_DNS.key" /etc/ssl/tailscale/

# Restarting Synology Web Server
/usr/syno/bin/synosystemctl restart nginx
Detailed Breakdown
- Root Check: Ensures the script runs with root privileges.
- Variables Setup: Creates necessary paths and retrieves Tailscale DNS name.
- Cleanup: Removes any existing certificates to avoid conflicts.
- Certificate Generation: Uses Tailscale’s own tool to generate certificates.
- Key Conversion: Converts the key to the PKCS#8 format for compatibility.
- Copying Certificates: Places the new certificates in the appropriate Synology directories.
- Restarting Services: Restarts the Synology web server to apply changes.
4. Making Script Executable: Adjust the file’s permissions to make it executable:

5. Running the Script: Execute the script with:

The final result on the Security/Certificate tab should look like:
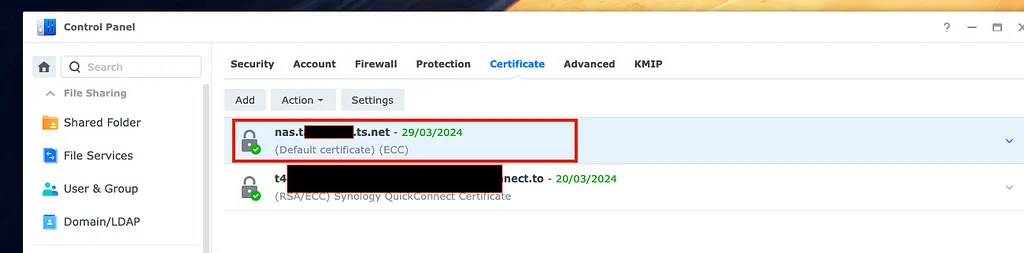
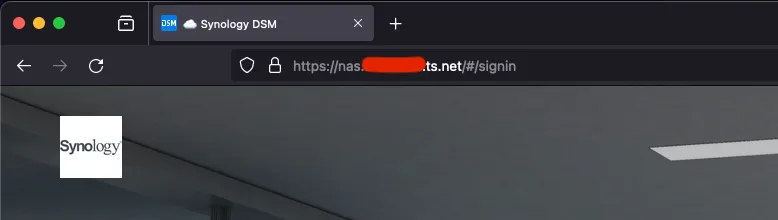
After these steps, I could visit my Synology home page and could verify that HTTPS work out of the box:
Conclusion
This quick guide provides a step-by-step approach for integrating Tailscale with Synology DSM and automating certificate configuration through a Bash script.
I’d like to express my gratitude to the community involved in the GitHub discussion, specifically in Tailscale GitHub Issue #4674. Their insights and discussions were the catalyst for the ideas presented in this script.